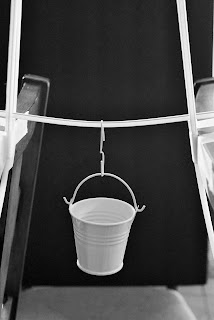
We’ll make a beam bridge in this section using straws and tape.
Design Rules for the bridge:
1.
Bridge must span 12 inches.
2.
Bridge must have a place to attach
a small cup in the center of the span (preferred).
Supplies:
·
A bag/box of straws
·
Tape
·
Scissors
·
Small cups (or wedding favor mini
buckets from the Dollar Tree stores)
·
Paper clips
·
Weights – pennies, paper clips,
etc. Anything is OK as long as they weigh the same. You want to compare how
much different bridge designs can support
Instructions:
1.
Take 6 straws and cut off all the
bendy parts, if you have bendy straws.
2.
On one end, pull a straw 1 1/2 inch up between two straws and tape them together.
3.
On the other end, tape together the two straws without anything in between them. This should result in a triangular
shaped support structure for your beam bridge.
5.
Repeat steps 3 and 4 and make the
second support structure.
6.
Tape the wide ends of the support
structure to tables, chairs, desks, etc. that are 12 inches apart.
7.
Place a straw between the support
towers.
8.
Hang a small cup in the middle of
the bridge (use hole puncher and paper clips) and load it with pennies, paper
clips, etc. to weigh it down and test its strength.
I've done this project with my students, and I was blown away by how much a bridge like this could hold.
 |
| This bridge has 3 reinforced beams, but the beams themselves are neither taped to the table nor the support structure. |
 |
| This is a variation on the beam bridge with side supports and 3 reinforced beams. |
 |
| This bridges is made of 3 reinforced beams, but without any other special features. |
Do you think you can beat that? I bet you can. I thought this type of bridge could hold up to ~200 pennies, at the most. Boy, was I wrong!
I hope you have a lot of fun with this project.


No comments:
Post a Comment