Showing posts with label Civil Eng proj. Show all posts

Thursday, March 15, 2018

Awesome Arch Bridges!

We're learning about Arch Bridges today.


The easiest type of bridge to recognize is the arch bridge. 
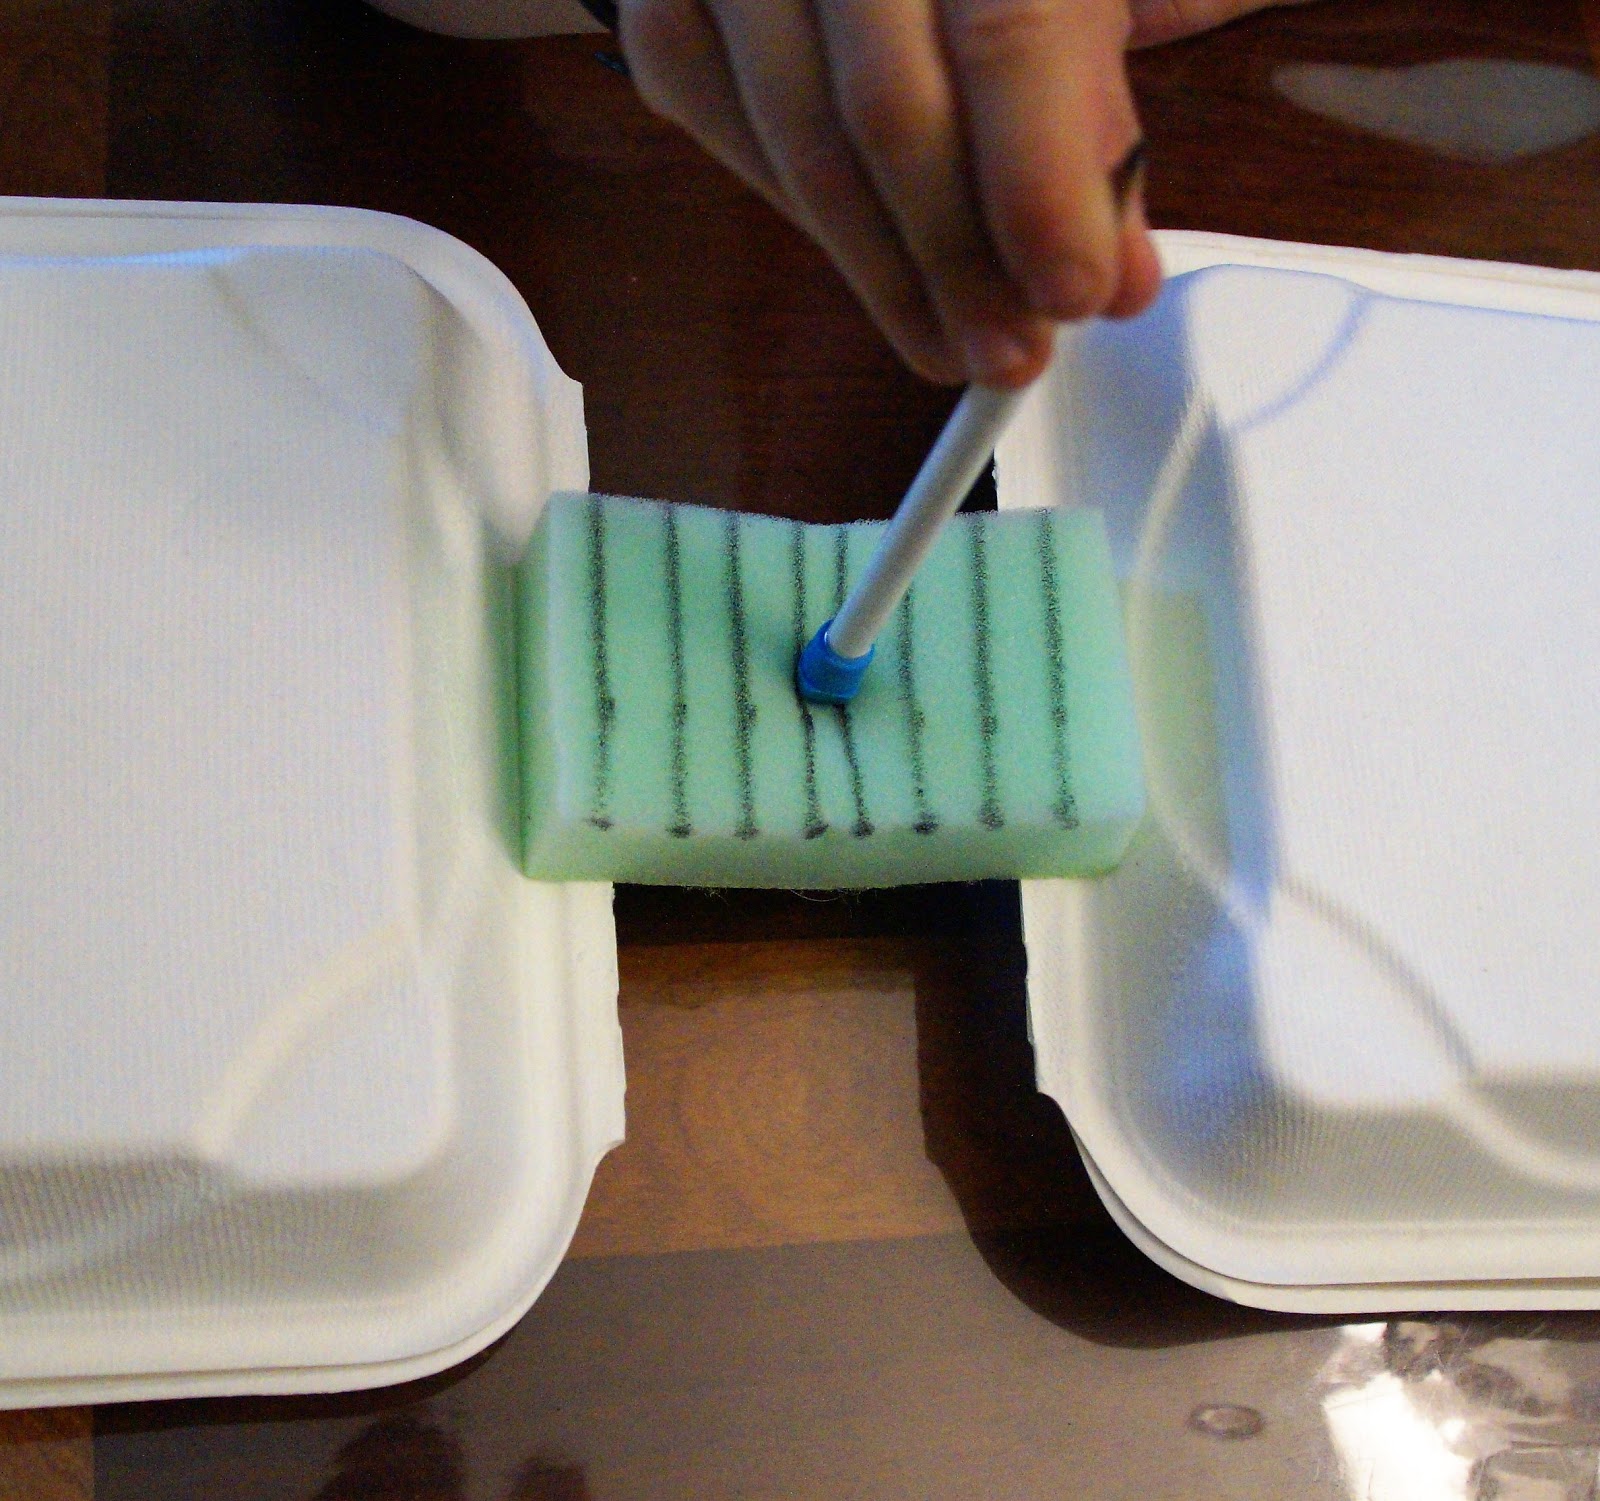


List of Supplies:
  • Card stock paper
  • Ruler
  • Pen/Pencil
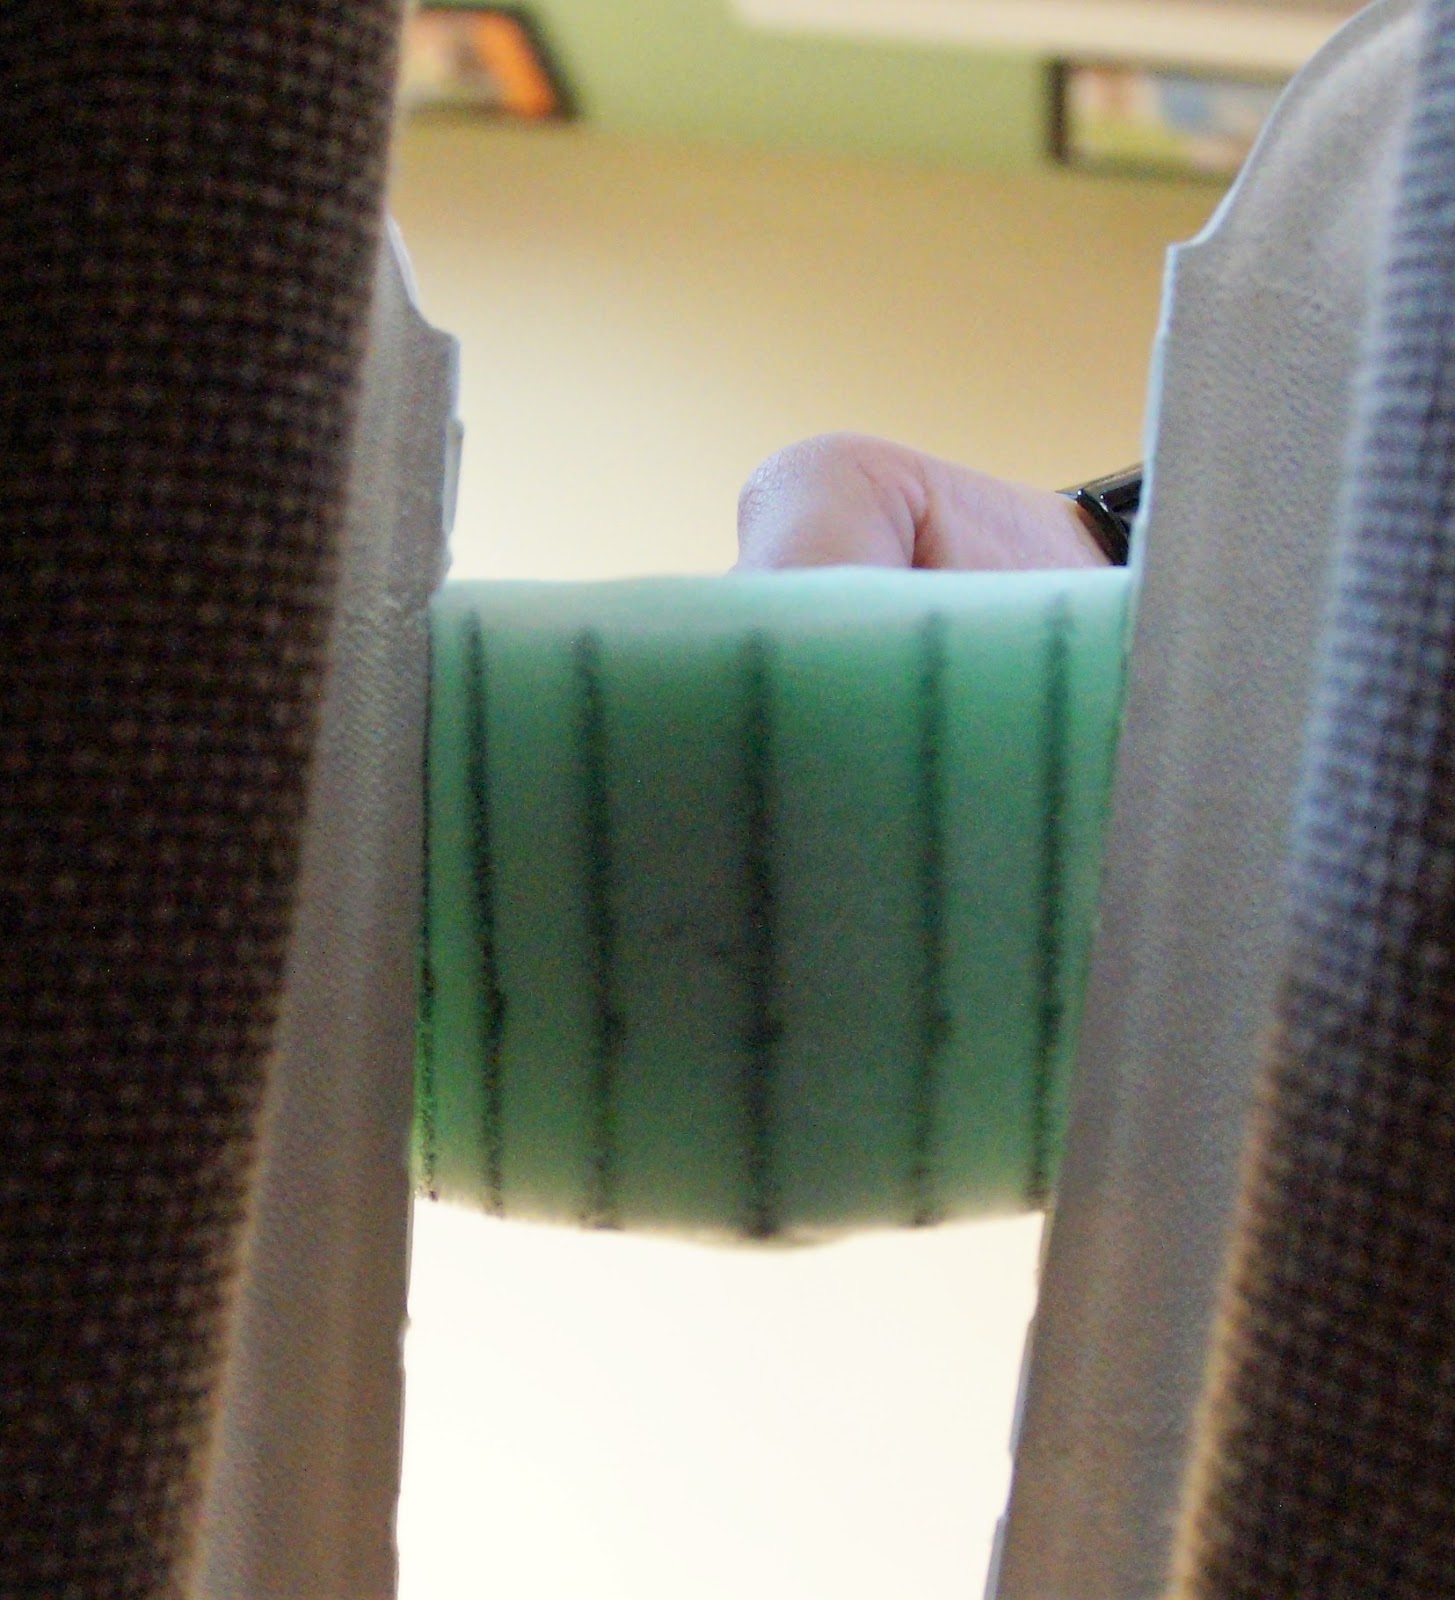
  • Chair, table, books, etc. to use as abutments


This is also one of the oldest type of bridges, and it has an extraordinary strength due to its shape.


Unlike a beam bridge, the load on an arch bridge is pushed outward.

The load is carried along the curves of the arch to the support structure at the ends of the bridge called abutments.


The abutments spread out the load from the bridge and keep the ends of the bridge from pushing out and collapsing.

Arch bridges carry all loads in compression. The stones in arch bridges stay together by the force of their weight and compressive force transferred between them. So, the arch bridges don't need much mortar to keep the stones in place.

The size of the arch directly affects the effectiveness of the arch, and most modern arch bridges span between 100 - 1,500 feet.


Tuesday, March 6, 2018

Beam Bridge in Action!

Human beings first made bridges using wooden logs, planks and lashing together sticks, bamboo poles and tree branches. These were the first beam bridges, and they are everywhere!


List of Supplies:
  • Sponge
  • Permanent Marker
  • Ruler
  • Something to create a gap for the bridge

Draw lines 1/2" apart on the bridge, front and back.

Lay the sponge across a gap to create a bridge.


Now, press down on the middle of the sponge bridge, and see what happens.

These bridges are the simplest and the least expensive bridges to build. A beam bridge consists of a horizontal beam that is supported at the ends by land, columns or piers, just like the logs that sit across a stream.


On a beam bridge, the weight of the beam (bridge) and any additional weight (cars, people or whatever else) on the bridge is transferred to the supporting structure on the bottom.


When a load (weight) is placed on the beam bridge, the top of the bridge is pushed down by a compressive force and tensile force stretches the bottom of the bridge.


For heavy car and railroad traffic, the beam bridges are replaced by stronger truss bridges. 

For information and project ideas on truss bridges, please check out - 


Have a great day!


Wednesday, January 31, 2018

Roaring Roller Coasters

This is a project I do almost every year because the students have so much fun. 

The premise of the project is that there is a competition, sponsored by the premiere roller coaster company E2, Extreme Experience, to see which team can build the greatest roller coaster for E2’s next project. 

The rules of the project are: 
  1. The roller coaster must have at least one loop.
  1. The ride should be thrilling (extra points for speed).
The tree different marbles represent three different types of roller coaster cars – empty (wooden), half-full (glass marble) and full (metal ball bearing).

The roller coaster design must support all three types of cars. After a run, all three types of marbles must fall/fly into a target cup. Rolling into a cup on the ground does not count.

List of Supplies:
¾” diameter piping insulation (can be purchased from any hardware store)
½” diameter ball bearing, metal
½” wooden marble
½” glass marble
Plastic cups
Adhesive tape
Anything else you have on-hand to build a support structure


First build. This was extremely accurate roller coaster.


Second build for the team that executed the roller coaster above. A team must have two loops after they complete their initial run, and this was an ambition design.


This team used the existing space very, very well.


This team put in two loops to start.


A very interesting use of a classroom furniture.


Another example of students being very creative.


An innovative support structure.


Wednesday, April 15, 2015

Strength of Materials - April 15, 2015

These are the pictures from the project I did in the fall. Again, because I had to load the books carefully, and the structures did collapse, I don't have "action" pictures. But these are some of the examples of the support structure the students from 2nd - 5th grades built.

Previous Supplies List:
25 straws (Dollar Store variety)
6 bamboo chopsticks (3 pairs)
scotch tape


New Supplies List:
25 straws (Dollar Store variety)
6 chopsticks (3 pairs)
scotch tape


I couldn't get my hands on the same, stronger bamboo chopsticks, so I had to settle for either thinner, weaker bamboo chopsticks or regular wooden ones. I bought both types, but they didn't quite hold up. Still, it doesn't make this project any less fun to do.

Project Instructions:
  1. Hand out 25 straws and 6 chopsticks to each team of students.
  2. Talk about load distribution.
  3. Build and test.
  4. Get more material (another pair of chopsticks or 5 straws) and make repairs. And test again.
The records to beat for next year:
2nd graders - 18 lbs.
3rd graders - 32 lbs.
4th graders - 36 lbs.
5th graders - 46 lbs.

Some load pictures:


Some very interesting designs:


 I have many pictures, but I couldn't post all of them. These are some contenders and some interesting ones.

Have fun.

Monday, March 30, 2015

Fantastic Foam Bridges - March 30, 2015

I do a lot of hands-on building projects because the students seem to enjoy them the most. This project is a variation on a marshmallow bridge project. This one is really exciting for the students because there's an element of competition, which brings and urgency into the situation.

 Supplies List:

  •     Foam cubes - it doesn't matter what the size is unless it's really small. 1 inch foam cubes work pretty well.
  •     Toothpicks
  •     Small cups to hold pennies (tiny cups you'd get from a dentist's office)
  •     Paper clips
  •     Pennies (up to 700 pennies)
  •     Plastic tub (to catch the pennies if/when the bridge collapses)
I draw a couple of truss bridge designs on a white board and talk about the triangles in the bridge design. Then I go on to talk about the advantages of using triangle; however, I caution them about the hypotenuse. With the toothpicks, the students have to do something about the length difference.

Project Instructions:

  1.     Hand out a tube of foam cubes and ~250 toothpicks to each team of students.
  2.     Build whatever shape the team wants to build.
  3.     Build, test, & build, again!
Here are some records to break for next year:
 

2nd graders - last year, 298 pennies
3rd graders - this year, 250 pennies
4th graders - this year, 450 pennies
5th graders - this year, 650 pennies

I don't have a lot of class pictures because I have to load the pennies very carefully, evening out the load on the bridge. So, the teachers take the pictures, but I haven't received the pictures, yet. So, here's what I have.


~150 pennies in the right and the left cups each


Try this one at home and have a wonderful time.

P.S. - The only problem with this project is that the foam cubes are quite expensive (between $17.95 - $24.95 per 102 cubes), and we can't keep reusing the foam cubes. So, it does get expensive for a class project when I try to collect $10/year/student for the science projects. If you know where I can get them cheaper, please let me know.