The motto for this project is - Fail Spectacularly! I ask the students to push the envelope and come up with something very different from others. I challenge them, and every year, they meet the challenge in spades.
I get the gliders from the nearby hobby store, Sheldon's Hobbies, and I get them at a discount, which helps me keep the costs down. I usually buy single wing plane, but in the last couple of years, I've bought bi-planes. These are a little more complicated, but it's also more interesting to mix up the kits a bit.
A warning, though. These glider kits are rather fragile. One student broke the wing in four different places. So, I usually start off by telling them to be extra careful, and in lower grades, I show them how I shimmy the wing into the glider body.
Supplies List:
- Wooden glider kit (1 kit/student)
- Cardstock (2 sheets/student)
- Scotch Tape
- Hand out the glider kit and tell the students to put it together by following instructions (I show the 1st and 2nd graders how to put them together).
- Go fly the glider outside and tell the students to watch how it flies through the air. Allow the students to fly the gliders several times.
- Once back in the class, tell the students to take the gliders apart. The only part they can use for the next phase of the project is the body.
- Hand out a sheet of cardstock paper to each student.
- Tell the students to make new parts with cardstock paper. There's only one rule - the new glider parts must be a different shape and size from the original wooden parts.
- Encourage the students to fly their new gliders and make improvements.
- About 2/3 way through the class time, hand out another piece of cardstock paper and ask them to design another glider, preferably a very different design from the first glider.
- Again, encourage them to fly the gliders and make improvements throughout. I've learned over the years that students don't need more than a piece of cardstock paper to make all the parts.
- I usually have two different contests - distance flier and trick flier. Here's the secret. It doesn't matter whether their gliders fly far or do tricks. What I'm trying to encourage is creativity, problem-solving skills, and perseverance.


There are a lot of pictures here. I thought about take some of them out, but I thought I'd give you the choice of checking it out or not.
Some pictures from a couple of 3rd grade classes:


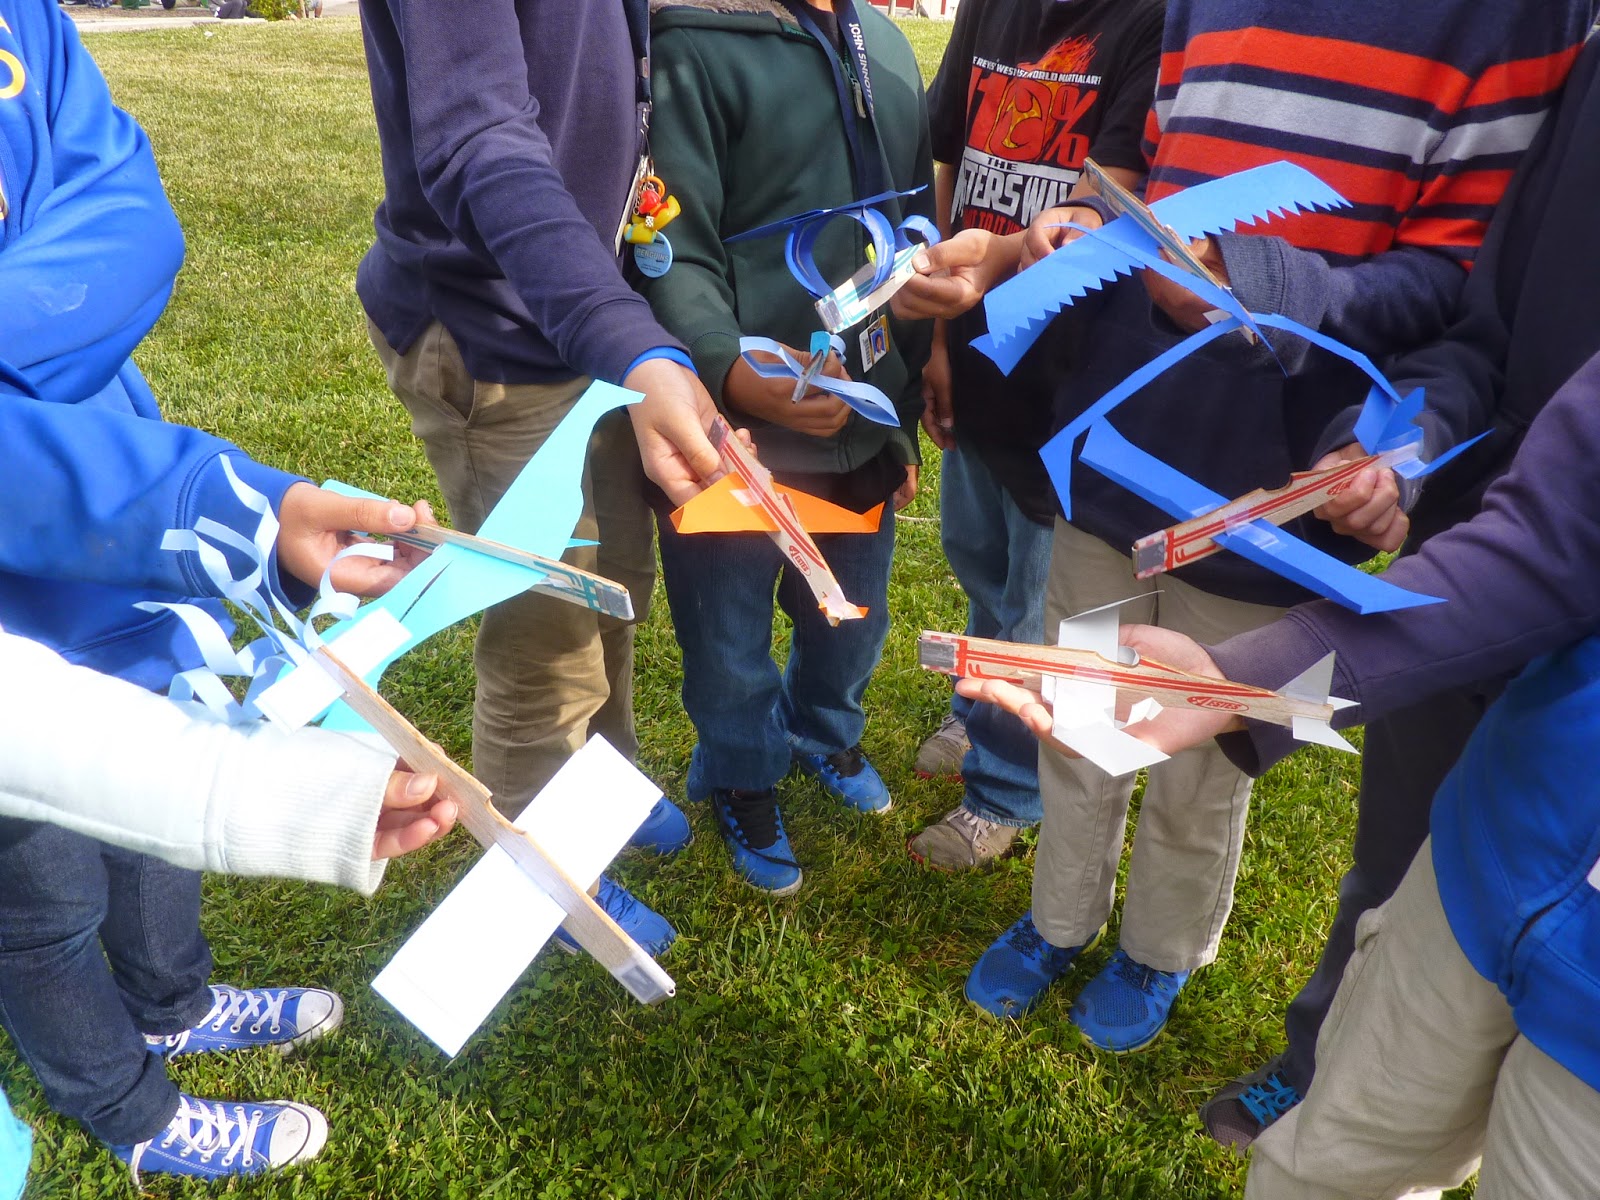


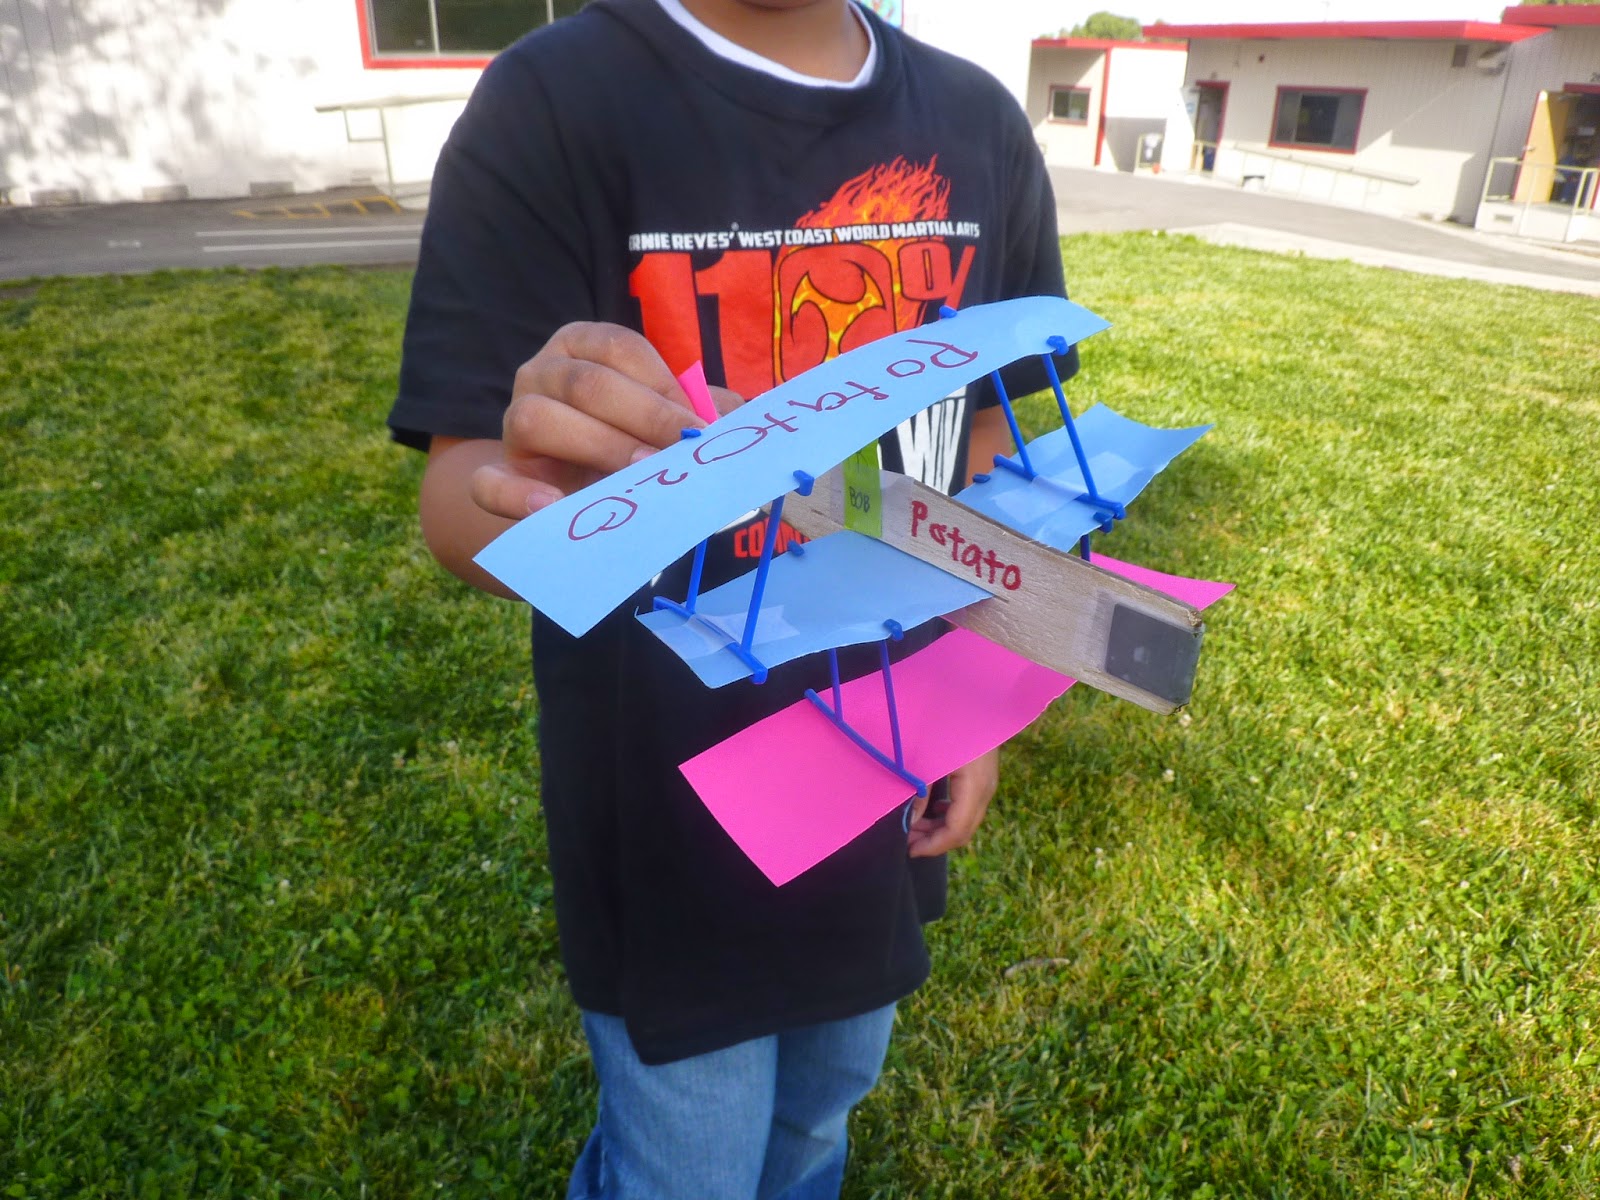


As you can see, the possibilities are endless. It's amazing how much fun you can have with children with a glider kit and some cardstock paper.
Have fun!
No comments:
Post a Comment