
But first, we must learn to make a box, first. OK. It seems a little odd that I should start off this project by teaching you have to make a box, but it will all make sense soon.
I saw a variation of this project in a science project kit/book combo. However, I can't afford to spend almost $17/student (since I collect $10/year/student), so I had to figure out a way to make it affordable.
The box will become the body of the vehicle. I can easily ask the students to bring a box for this project, but I want uniformity. So, we'll make a box.
Supplies Needed:
- Two pieces of construction paper
Project Instructions:
- Step 1 - Fold one corner of the construction paper.
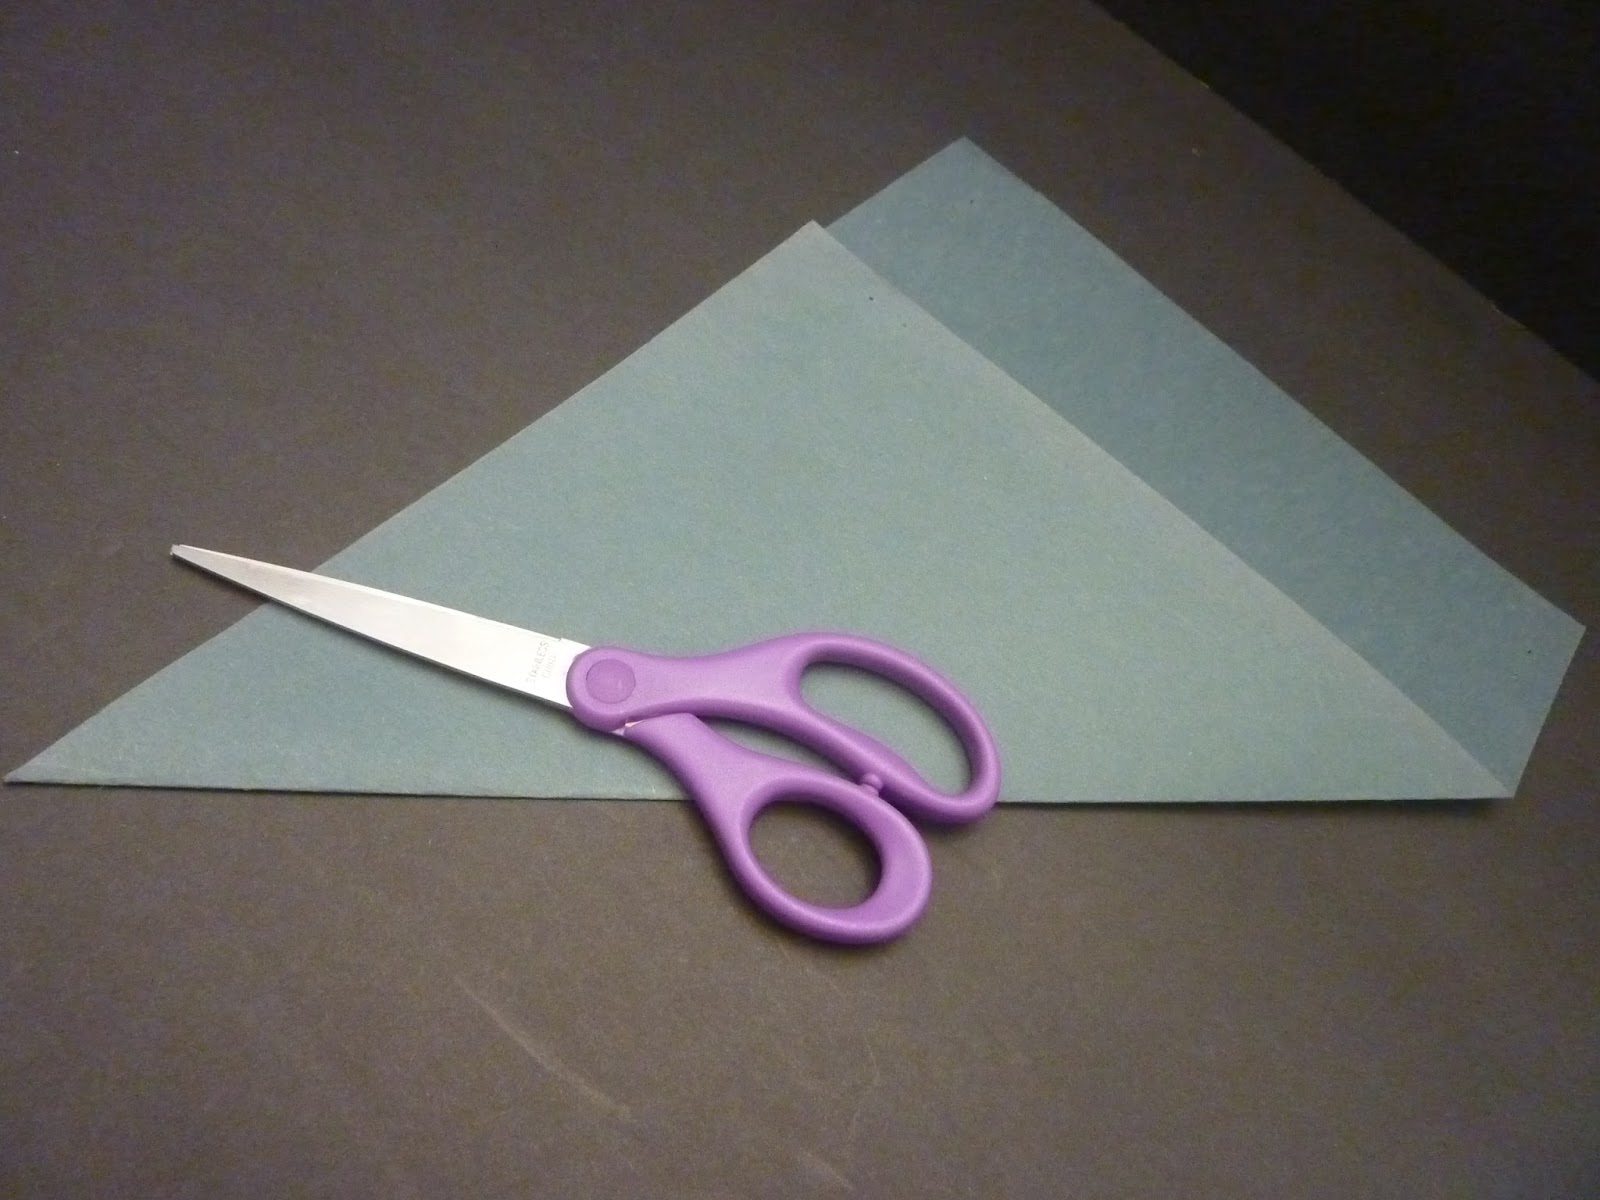
- Step 2 - Cut out the excess and make a square.

- Step 3 - Put the corners together and fold it in half to make a triangle. Fold the top of the triangle (pointy-end) toward the bottom of the triangle in half.

- Step 4 - Fold it in half again.

- Step 5 - This is what you get. Then repeat the folding process in the opposite direction.

- Step 6 - Again, fold it in half, and then half, again to get this.

- Step 7 - A square with folding grids.

- Step 8 - Fold the opposite ends together to make a triangle. Then from the top of the triangle, make a cut two squares in from the pointy-end. Leave one square from the bottom of the triangle uncut.

- Step 9 - Leave the pointy-end pieces alone, for now. Then fold in the side pieces toward the center of the box. The box should be two squares wide and one square deep.

- Then fold the pointy-end pieces over the folded pieces and tuck it under.

- Step 10 - Complete! The lid of the box is done.

- Step 11 - Now for the box bottom, this piece needs to be a little smaller. Make the first square a little smaller and cut off the excess from one side.

- Step 12 - Repeat Step 3 to Step 10 for the bottom of the box.


We'll need to make two boxes for this project. To inspire you, I've attached another photo of the finished project.

Make one (or two boxes) and have fun!


