Showing posts with label straw. Show all posts

Thursday, February 8, 2018

Squeeze Bottle Rockets

This is a variation on Strawkets I saw at RAFT, and I wanted to see if these would fly as well as the original Strawkets experiment I did with students a while back.

Four 6th grader classes conducted this experiment recently, and the results were conclusive - lung power wins! There's no comparison between lung power and squeeze bottle power. Unfortunately, I didn't take pictures in class, so I took these pictures separately.

This is what we're building today.


List of Supplies:
  • Straws, 2 kinds, one skinnier than the other (they should be able to slide easily inside of one another but not too loose)
  • Facial tissue
  • Index cards
  • Adhesive tape
  • Scissors
  • Squeeze bottle
  • A piece of soft foam to cover the bottle opening
All the materials are easy to find except for the squeeze bottle. I think you can find these at Target or Walmart in the travel container section.

The black piece on top of the squeeze bottle is a squishy foam with a hole in the middle for the straw. If you don't have anything like this, you can just tape over the opening, insert the straw, and tape around the straw to make sure that no air is escaping (except through the straw).


Try flying your straw rockets with the inner straw pushed all the way in & pulled out to the bendy neck of the skinnier straw. Experiment and find out which way works better.


Take a piece of tissue, twist and fold into an oval shape, and push it into one end of the straw to make it the front end of rocket. Cut pieces of an index card (try to have fun with different shapes and sizes) and attach them at the end of your rocket as tails.


These are some of the shapes I experimented with today, but in class, students are VERY creative with sizes (huge to tiny) and shapes (let your creativity explode). Have fun with them.


This is one of those experiments where I have the students yell, "Fail Spectacularly!"
So, go forth and fail spectacularly by experimenting with crazy shapes and sizes.

And always, I hope you have a lot of fun.


Monday, July 6, 2015

Air-powered vehicle, Part 1 - How to make a box (vehicle body)

This is what we are making.


But first, we must learn to make a box, first. OK. It seems a little odd that I should start off this project by teaching you have to make a box, but it will all make sense soon.


I saw a variation of this project in a science project kit/book combo. However, I can't afford to spend almost $17/student (since I collect $10/year/student), so I had to figure out a way to make it affordable.


The box will become the body of the vehicle. I can easily ask the students to bring a box for this project, but I want uniformity. So, we'll make a box.


Supplies Needed:


  • Two pieces of construction paper

Project Instructions:


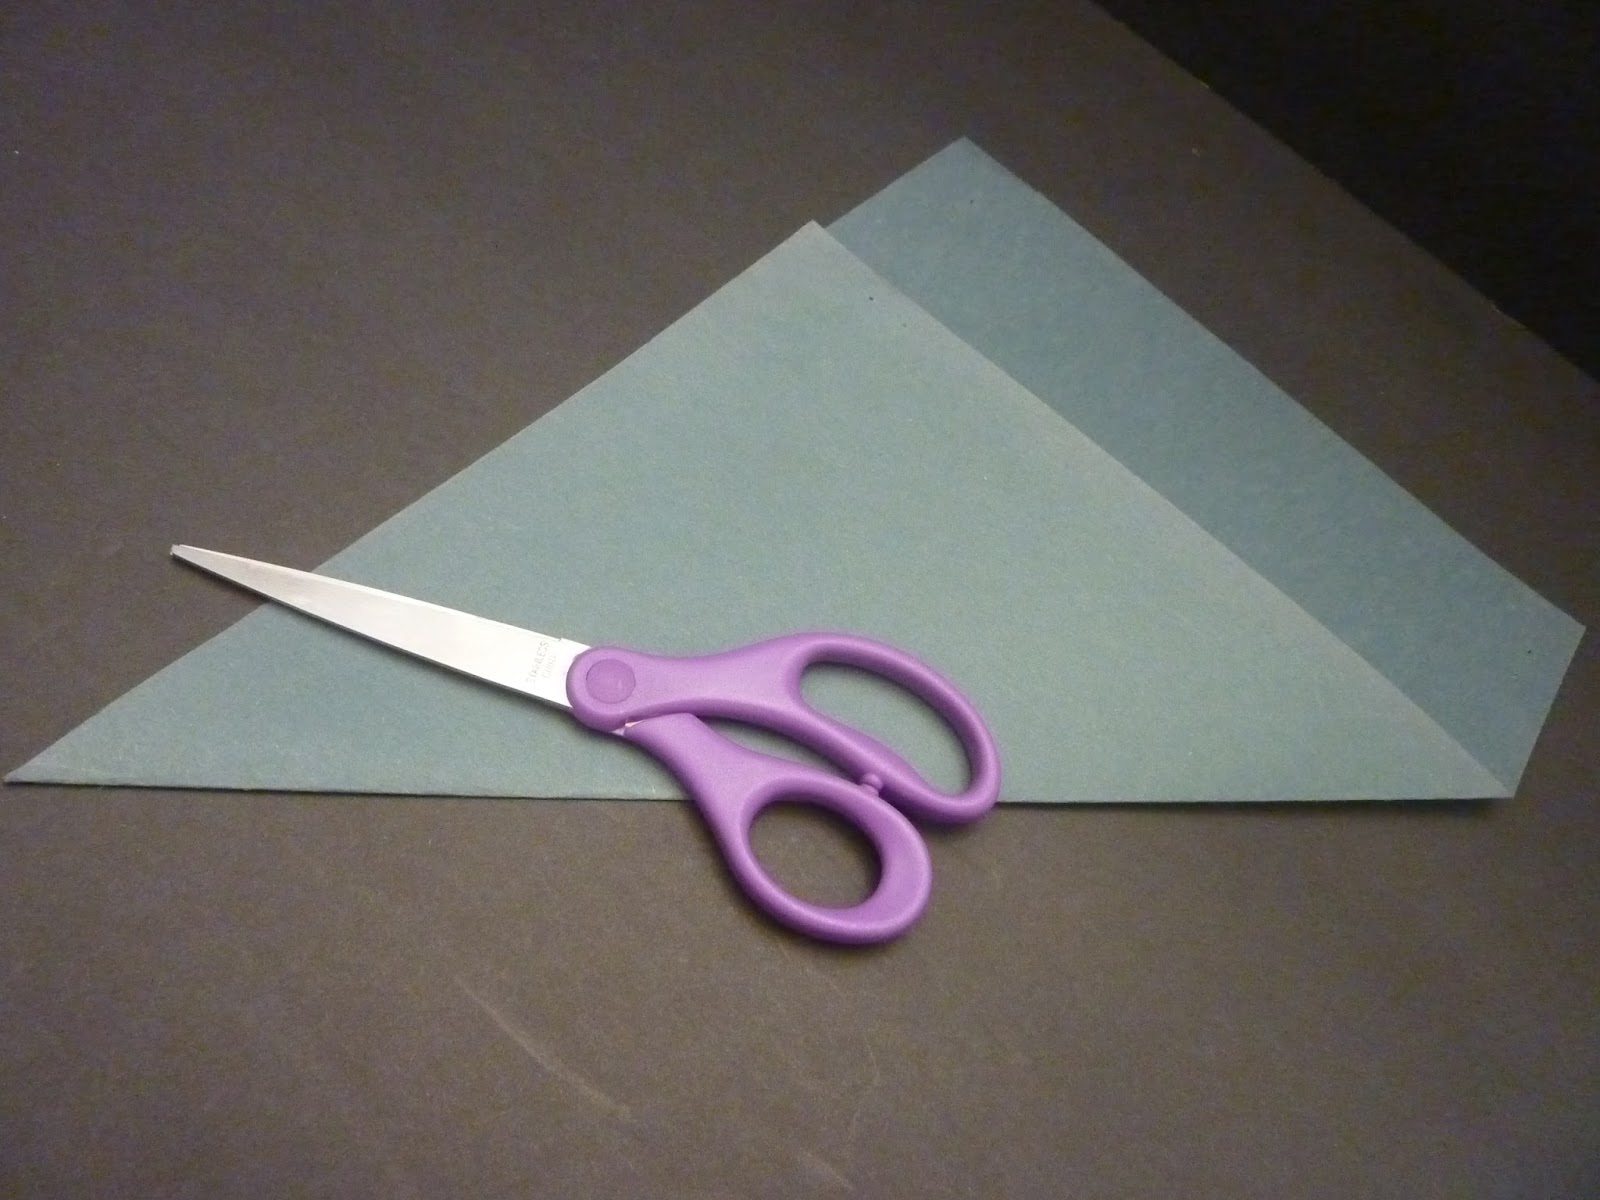
  • Step 1 - Fold one corner of the construction paper.


  • Step 2 - Cut out the excess and make a square.
  • Step 3 - Put the corners together and fold it in half to make a triangle. Fold the top of the triangle (pointy-end) toward the bottom of the triangle in half.
  • Step 4 - Fold it in half again.
  • Step 5 - This is what you get. Then repeat the folding process in the opposite direction.
  • Step 6 - Again, fold it in half, and then half, again to get this.
  • Step 7 - A square with folding grids.


  • Step 8 - Fold the opposite ends together to make a triangle. Then from the top of the triangle, make a cut two squares in from the pointy-end. Leave one square from the bottom of the triangle uncut.
  • Step 9 - Leave the pointy-end pieces alone, for now. 
    Then fold in the side pieces toward the center of the box. The box should be two squares wide and one square deep.


  • Then fold the pointy-end pieces over the folded pieces and tuck it under.


  • Step 10 - Complete! The lid of the box is done. 
  • Step 11 - Now for the box bottom, this piece needs to be a little smaller. Make the first square a little smaller and cut off the excess from one side.
  • Step 12 - Repeat Step 3 to Step 10 for the bottom of the box.


We'll need to make two boxes for this project. To inspire you, I've attached another photo of the finished project.


Make one (or two boxes) and have fun!