Showing posts with label hands-on. Show all posts

Friday, February 16, 2018

Elephant's Toothpaste

I haven't done many Chemistry experiments in class, because there isn't enough time to clean up the mess before the next class comes in, etc. But I always wanted to try this one (even though there are many variations of this on youtube and elsewhere) because any kind of foaming, explosive reactions I've done before were based on vinegar and baking soda (any this one is based on hydrogen peroxide). And it's always really fun to get your hands dirty.


This is what we're doing today. 
This was the extent of the mess I had to clean up from this experiment, which is less than I expected.

List of supplies:
  • Empty plastic bottle
  • Baking tray (bigger the better)
  • 4 fluid oz of hydrogen peroxide (3% concentration is the one I used. I bought it from a nearby pharmacy)
  • Dish washing liquid
  • Dry yeast
  • Hot water
  • Funnel
  • A small bowl to mix yeast and hot water
  • A measuring spoon set (1 tsp & 1 Tbsp)
  • A spoon to stir the yeast and hot water mixture


Measure 4oz of 3% concentration of hydrogen peroxide.


Pour hydrogen peroxide into the empty water bottle along with a couple of drops of food coloring and a couple of drops of dishwashing liquid.


Mix a 1 tsp of yeast with 2 Tbsp of hot water.


Using a funnel, add the yeast and water mixture to the hydrogen peroxide in the bottle.


Too bad I didn't do this experiment a couple of days ago. It has a nice heart shaping going. It's probably more impressive in person than in picture.


Big bubbles on the left outer edges of the foam mixture (bubbles from earlier reactions).


Big bubbles on the left outer edges of the foam mixture (bubbles from earlier reactions).


Smaller bubbles in the closer vicinity of the plastic bottle (bubbles from the later reactions).

SO..., why does this happen? Think about what happens in the bottle.

Science notes:

Well, if hydrogen peroxide is left alone long enough, it'll break down to water and oxygen on its own. BUT, by adding yeast into hydrogen peroxide, we're speeding up the break down process.
  1. The hydrogen peroxide locks on to the yeast.
  2. The yeast breaks down into oxygen and water.
  3. The oxygen released by the yeast mixed with dishwashing liquid creates the bubbles and produces the foam.
  4. And this one, you can't tell from looking at the pictures, but when I touched the water bottle, it was warm.
  5. Hydrogen peroxide + yeast is an exothermic reaction (heat-producing), and that's why the water bottle was warm to touch.
I liked this experiment a lot because it was simple and even though there was a mess, it was easy to clean up after I was done.

I'd like to do this in class varying the concentration of yeast and water mixture. I'd like the students to figure out the relationship between the yeast concentration and the amount of foam (which probably is hard to measure) or the amount of heat the experiment released (which probably is also hard to measure). Also, I can play around with different concentrations of hydrogen peroxide. Anything over 6% concentration is not recommended online.

Again, for a Chemistry project, this was fun, easy to clean up, and it offered a lot of opportunities to mix it up.

Have fun & have a great day!

NOTE: If you have really little kids around you, please make sure they don't consume the foam.


Friday, February 2, 2018

Birds of PLAY

This was in the Make magazine a couple of years ago, and when we were participating in the Tech Challenge 2016, Taking Flight, we made these gliders to prototype (we thought using the gliders in the shape of birds would be fun at the competition) and understand the mechanics of flight.

I don’t quite remember what the instructions were except that we drew gliders in the shape of birds on a foam plate and experimented with different combination of shapes in gliders and tails.

This is a great project you can do with your children/students inexpensively. I hope you try this project and have a lot of fun.

List of Supplies:
  • Foam plates
  • Paper clips
  • Scissors
  • Adhesive tape (optional)
  • Pens or Pencils

Build Instructions:

There is no perfect shape to start off. Experiment with the size and width of wings to find your best design.


As you can see, I have four different shapes and five different tails. The gliders are identified with letters in the back, just like the tails are identified with numbers.


The gliders are "lettered" to find the best combination of shapes and tails.


Gliders are assembled. Ready for flight testing.


I put aielerons on this right, bottom glider to see if they made any difference, but they didn't. In fact, it didn't fly as well as the one above it (which is basically the same glider design except for the aielerons)


Again, with 4 different shapes and 5 different tails, you can have a lot of fun flying them and figuring out which combination works the best. 

In these videos below, I've recorded two different combinations which flew the best. Enjoy & have fun!


Glider B, Tail 2 combination


Glider D, Tail 5 combination

Find your own best combination and have fun with Birds of PLAY!

Hint: DON'T try to throw these. Just hold them by the tail area (without skewing the tail position), and let go gently.


Thursday, February 1, 2018

February 2018 The Tech Challenge Update

I LOVE this program.

My children and I have been participating in the Tech Challenge since 2013, and after five years, we're taking a break this year. However, I'm thinking about participating as a volunteer this year.

This year's challenge is called Drop & Dash.

The Tech Challenge 2018:  Imagine you’re at the top of a mountain. Or a cliff. Or a building. You need to get your supplies to a location at the bottom and up a hill. You’re all ready to go when you find …
Your batteries are dead.
You can’t scrap the mission. So what do you do?
The challenge: Design and build a device to survive a drop and deliver supplies. No batteries allowed!
The best part? It's not too late to participate. 
Registration is open until 3/31/2018. 
Info session/advisor training/team workshop are still available on 2/3/2018.

This year's competition is on 4/28 and 4/29.

And on the competition day, everyone can visit the Tech Museum for FREE.

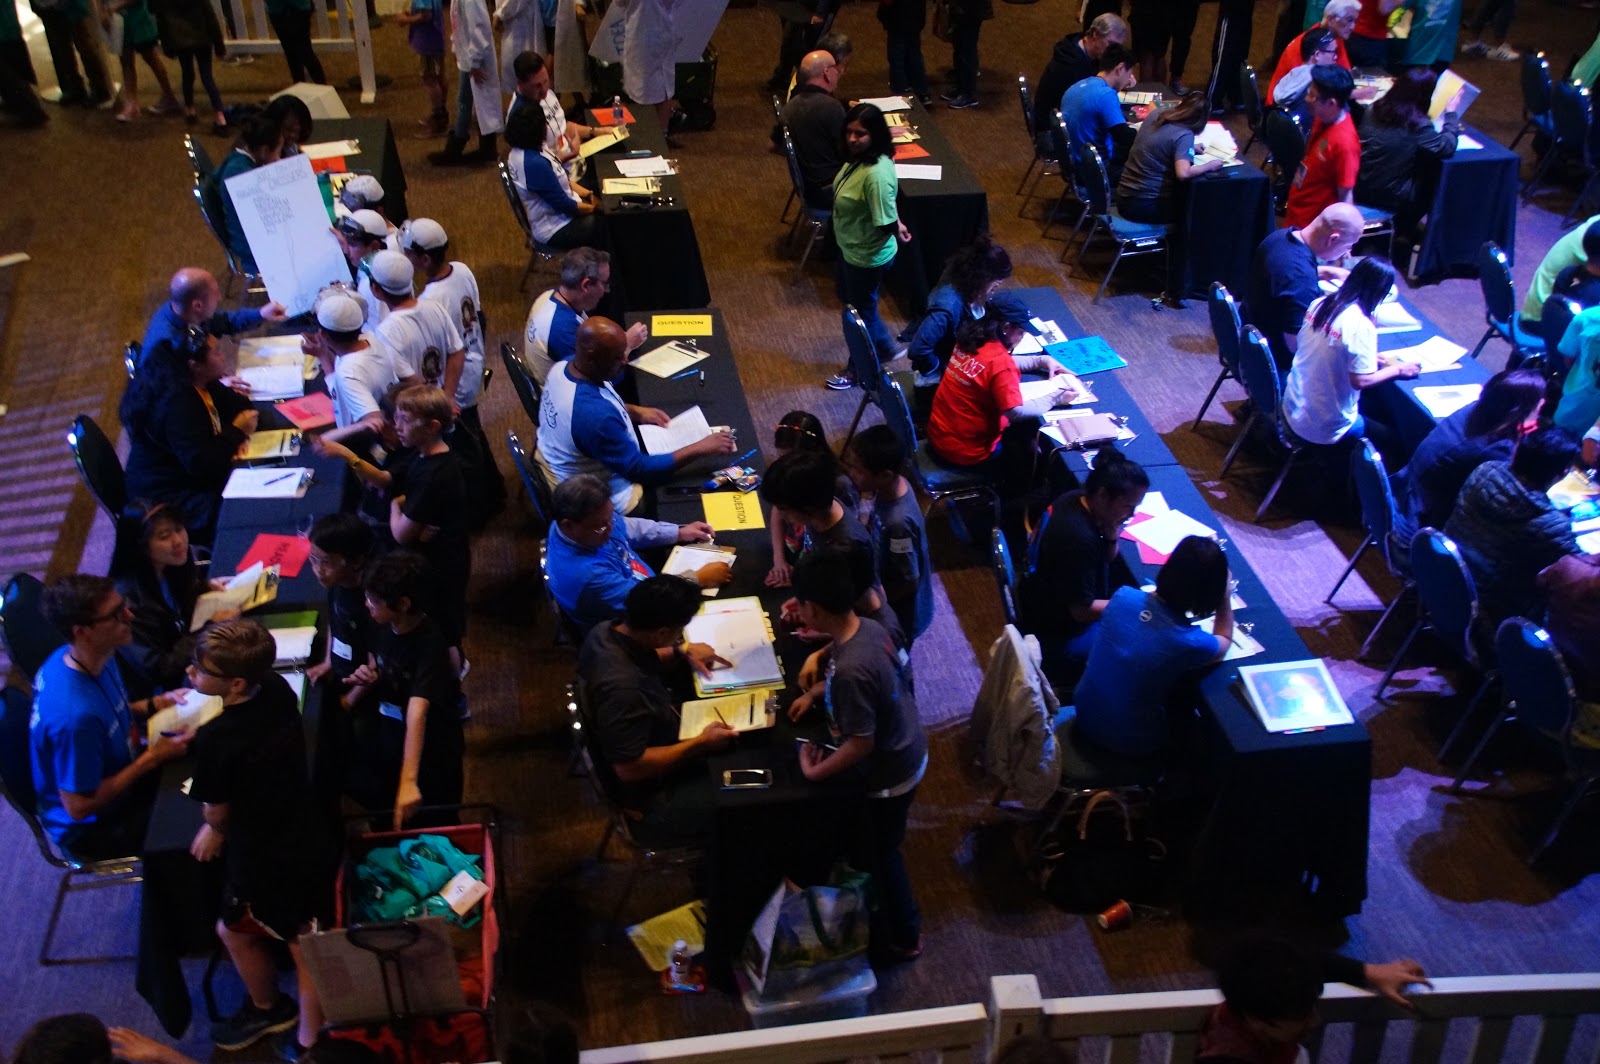
Here are some pictures from LAST year's competition:


After a long day of test trials.


We went with several prototypes.


In the Pit on the Competition Day.


Engineering Design Interview.


Device Performance.


Award Ceremony.


Engineering Design Interview for another team.


Device Performance.


Monday, January 29, 2018

LEGO Technic Build (Mechanisms) - Page 142, Build #182

I am a lover of LEGO, and I bought a book, The LEGO Power Functions Idea Book by Yoshihito Isogawa last fall.

Initially, I thought I'd use the book to build with my daughter and nephews. However, I soon realized that even though my daughter and nephews are advanced LEGO builders for their age, they were still having some problems building the more sophisticated machines and mechanism because there were only a few photos accompanying each build.

So, I decided to put together these step-by-step building process for my nephews who live farther away than I like. So, this was the genesis for Building my way through a LEGO Power Functions Book section in my blog.

I'm going to build the machines and mechanisms that are visually interesting, and I'm going to skip around the book. So, I will note the page # as well as the build # in the book on each blog.

Today, I'm going to build a cam mechanism.

So, what is a cam?

A cam is a rotating machine, which transfers a oscillating or reciprocating motion to another part known as a follower. A really good example of a cam is a car engine.


I'm building this today.


Pieces I'm going to use today.


I bought two tubs of technic parts, and I didn't have a particular piece used in the book. So, I chose a piece that came close to it and used it.


A follower is already done.


A follower taken apart.


Building the cam.


Attachments to attach the gears.


Gears attached with the follower on top. Cam pieces off to the side.


Cam pieces attached.


My power functions set came from a $99 LEGO Technic set, but you can purchase a similar power functions set for ~$30.


A short video of the cam working. Enjoy!


Take the 2018 Fluor Engineering Challenge!

I became aware of this competition a little over a year ago (2017 challenge, which was different from this one) when I was perusing the sciencebuddies.com site. I thought it was interesting and tried it with my daughter's class along with a few other classes.

Though the teachers and I were concerned about spilling water in class on the carpet (yes, last year's project involved a tub of water), it wasn’t too bad. And the project was great! The students learned a lot, but more importantly, they had fun figuring things out for themselves.

Year after year, this Flour Engineering Challenge is just plain fun. But best of all, it gives your children opportunities to win money for their school.

2018 Fluor Engineering Challenge


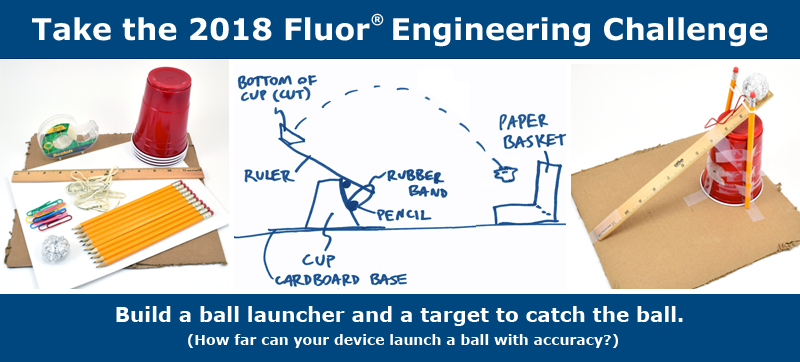
The objective of the 2018 Fluor Engineering Challenge is to use limited materials to build one device (the launcher) that launches an aluminum foil ball and another device (the receiver) that catches the ball. The farther your ball flies before being successfully caught by the receiver, the more points you get. 

Your children can use only a limited list of materials, and there are points associated with each item. The less material your children use, the more points they keep.

List of Materials (see website for more detail description):
Corrugated cardboard base
Large paper or plastic cups
Wooden rulers
Paper
Wooden pencils
Rubber bands
Large paper clips
Roll of adhesive tape

2018 Flour Engineering Challenge Website

Challenge objective & info

In mid-February, I’m planning to do this project at a local elementary school. I’ll share the results with you afterwards.


Have fun!